Make a travel photo poster with AI
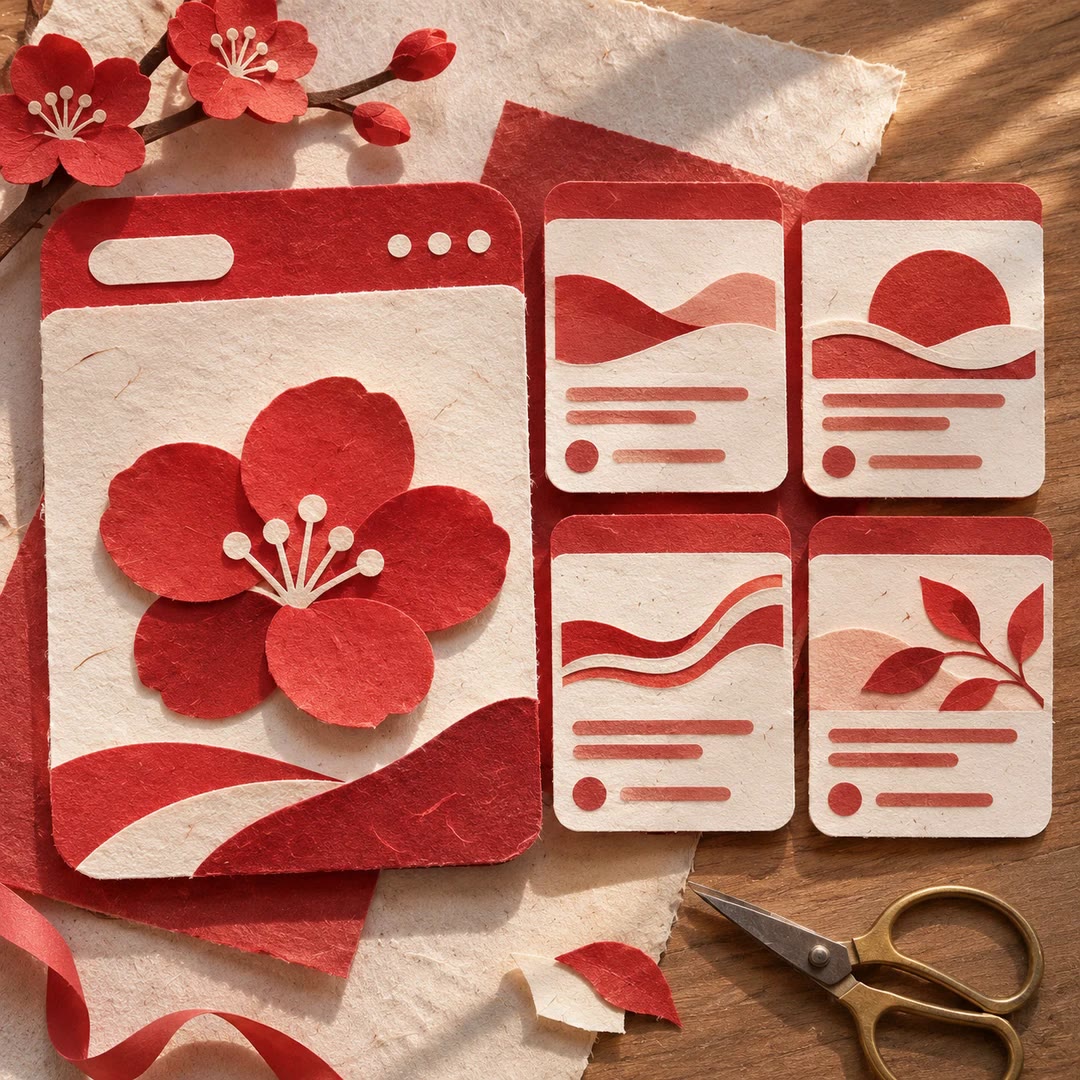
Arrange a main photograph, a few supporting views and a short location note into an editorial travel poster. Choose the images and decide where the eye should land first.
To make a travel photo poster with AI, choose the picture that deserves the most space. The creating-editorial-travel-diary-posters skill builds the layout around it. A portrait by a station window could lead a page, with smaller photographs of the train, the street and the view on arrival. A place name and date can be enough type to hold them together.
Decide whether the result should feel like a magazine spread or a page torn from a travel journal. Small details such as a paper edge or a handwritten caption can support the scene. If a person is the focus, compare the finished face, clothes and pose with the source photograph.
What it does
- Give one image a clear lead over the supporting views.
- Pair a portrait with two or three details from the same trip.
- Reserve space for a city name, date or brief personal note.
- Adjust overlapping picture edges without covering the subject.
- Prepare a layout brief for a separate image editor.
Install and use
- Start with photographs you have permission to use. A finished visual requires an image-capable editing, generation or compositing tool.
- Pick a lead photograph and supply a few secondary views. Give the desired format and the exact caption if spelling matters.
- Review the hierarchy, likeness and lettering against the originals. Use the layout description when a renderer is unavailable.
FAQ
Source
Made by creating-editorial-travel-diary-posters contributors. Original skill: creating-editorial-travel-diary-posters, published on GitHub under the MIT licence.
View on GitHubRelated products
- SkillNew
Create interactive diagrams with AI
Turn a process description into an editable HTML diagram with animated connections, detail windows and a switch for planned parts.
Free - SkillNew
Draw data flows with openhop and AI
Describe a sequence in YAML and inspect it in a local step-through renderer, with messages, example data and expandable sub-flows.
Free - SkillNew
Create Chinese Xiaohongshu posts with AI
Arrange Chinese text into coordinated cover and content cards, then render and inspect PNGs from editable HTML templates.
Free